
By now we’re all familiar with the basics of smartphone photography: You pull out your phone and push a button. But if you really plan to preserve those memories for posterity, then you’ll want your phone snaps to look their best. So up your phone photo game with these nine tips and tricks.
Camera settings, lighting, scene modes, and composition can all play a part, as we’ll explain. And when you’ve got your photos looking suitably fantastic, make sure you also take the time to back them up somewhere safe.
Adjust focus and exposure
martphone cameras have come a long way in a short time, and most handsets now give you some control over the focus and exposure of your shot. If manual focus is available, it’s usually activated with a tap on the screen, on the point where you want the camera to focus.
Check in the settings for your phone’s camera app too. If you find a face recognition option, it’ll automatically zero in on faces, helping you avoid shots where your friends’ faces are a blurred mess.
Then there’s the exposure, or how much light is allowed into the frame. In the default iPhone camera app (shown above), you can tap once to focus, then hold and drag to adjust the exposure. It’s a similar story in the camera app for stock Android: Tap once for focus, then you can adjust exposure via the slider that pops up at the side or top of the screen. For more tips on nighttime photography, check out this guide to capturing celestial objects in the night sky.
Use HDR mode
HDR, or High Dynamic Range, is now a staple feature for smartphone camera apps. Simply put, it brings detail out of the darkest and lightest parts of your picture and creates a better balance of colors overall. The downside is that, in HDR mode, photos take a little longer to process while your smartphone works all this out.
It’s particularly suitable for landscapes and portrait shots, especially when there’s a wide range between the darkest and lightest parts of your photo. As it takes a few milliseconds longer to take a snap though, you should avoid using it on fast-moving subjects or when you can’t keep your phone steady.
Whatever your make and model of phone, you should see “HDR mode” in a prominent place somewhere on screen. It’s also likely that you can set this to automatically kick in (as on stock Android, above), which means HDR mode will activate whenever the camera senses it could be useful. You can also turn HDR mode on and off manually.
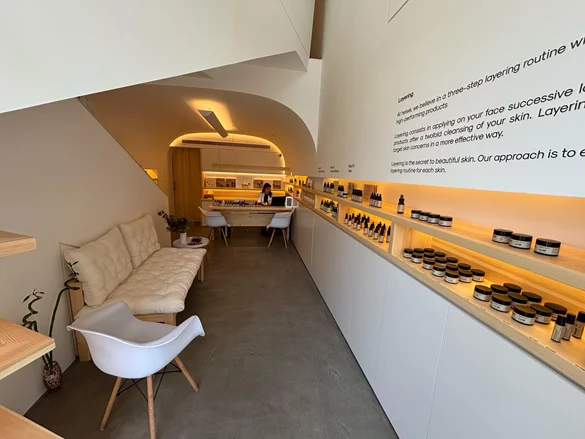
Use natural light where possible
Light is one of the most important factors in any photo. If you can make use of the available natural light, then you don’t have to resort to your phone’s built-in flash (which may give you less-than-ideal results, particularly at a distance).
If you can, position your subjects so they’re well-lit from the front and not silhouetted by a strong light from behind. Of course, this isn’t always possible for quick shots, but do what you can.
Using artificial light can work too, though you need to take more care. In a night scene, for example, get your friends to stand closer to the glow of artificial lights rather than deeper in the shadows, and make sure their faces are as well-illuminated as possible. Using the flash can help, but if you have time, try one shot with flash and one without to see the difference.
Steady your shot
One area where smartphone snappers still lag behind dedicated cameras is in their sensitivity to movement. Even a slight shake can leave a smartphone photo looking like it was taken on a rocking boat, while a more professional DSLR copes better with this type of motion.
It’s therefore important to minimize camera shake as much as possible. Buying a tripod might seem like overkill, but you can pick up cheap, small tripod models that are made specifically for smartphones.
If you don’t want to get a tripod then use whatever’s available—a wall, a friend’s shoulder, or even your other arm. Keeping the shot steady is particularly important in low light conditions, when exposure times have to be longer.
Take photos in bursts
The days of waiting for your film to get processed and developed before you can see your photos are long gone. Take advantage of our brave new world of instant photography by firing off as many shots as possible. Then, you can review your images after the event and delete all but the best ones.
Most phones come with a burst mode for this very purpose. On both iOS and (stock) Android, you activate it by holding down the shutter button in Photo mode. You can dive into the camera settings to make changes to how burst mode works.
Third-party camera apps often have a burst mode too. It gives you a useful range of different pictures to choose from, and can prove handy in pretty much any situation, from casual family shots with your blink-prone cousin to wildlife photos.